Welcome to the world of commercial drywall installation! Whether you’re a seasoned contractor or a novice in the business, it’s always good to brush up on the basics. Today, we will walk you through the steps you need to follow for a successful commercial drywall installation.
1. Steps for Commercial Drywall Installation
The first step of any commercial drywall installation is planning. You need to understand the layout of the building and determine the amount of drywall required. Remember, an inaccurate estimate could lead to wastage or a shortage of materials. So, take your time and be precise.
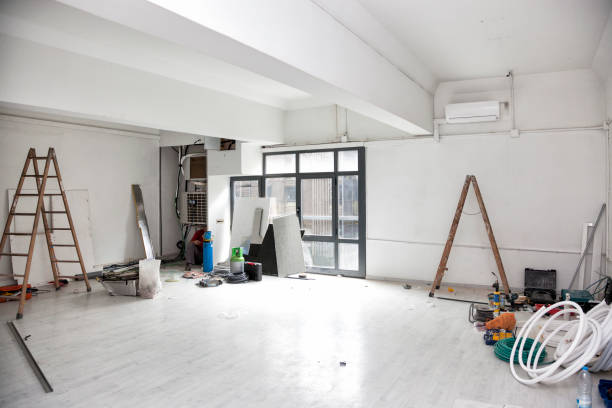
Next, you’ll need to prepare your workspace. This includes setting up scaffolding, if necessary, and ensuring that the area is clean and free from any potential hazards. Safety should always be your top priority during any commercial drywall installation project.
After preparing your workspace, it’s time to start hanging the drywall. Start at the top corner of your wall and work your way down. Use drywall screws to secure the drywall to the studs, spacing them about 16 inches apart. Be sure to use a level to ensure that your drywall is straight and even.
Once all the drywall is up, it’s time to tape and mud the seams. This is an important step in any commercial drywall installation as it helps to create a smooth, seamless finish. Apply a thin layer of joint compound over the seams, then place the tape over the top. Smooth out any bubbles or wrinkles with a drywall knife.
Finally, let the mud dry, then sand it smooth. Repeat this process as necessary until you’re satisfied with the finish.
Remember, commercial drywall installation can be a complex task, but with the right planning and preparation, it’s definitely achievable. Stay tuned for more tips and best practices to help you master the art of commercial drywall installation.
2. Tips and Best Practices for Commercial Drywall Installation
Let’s jump right into the nitty-gritty part of commercial drywall installation—tips and best practices. These nuggets of wisdom will help you take your drywall game from good to great, so pay attention!
Know Your Materials
When it comes to commercial drywall installation, not all drywall is created equal. There are various types, such as standard, moisture-resistant, fire-rated, and soundproof, each with its unique properties. Depending on the requirements of your project, make sure you choose the right type of drywall.
Invest in Quality Tools
A painter is only as good as their brush—same goes for contractors. Quality tools can drastically improve the efficiency and result of your commercial drywall installation. A good drywall screw gun, a reliable tape measure, a sturdy ladder, and a set of sharp knives can make your work much easier.
Practice Good Seam Placement
Seam placement is critical in commercial drywall installation. Ideally, you want to avoid having seams at the corners of doors or windows, as these areas are more prone to cracking. Also, avoid aligning seams on adjacent sheets of drywall.
Keep It Clean
Keeping your workspace clean may seem like a no-brainer, but it’s worth mentioning. A clean workspace not only ensures safety but also makes the job go smoother. It’s much easier to install drywall in an uncluttered space.
Don’t Rush the Sanding
Patience is key when it comes to sanding. Rushing through this stage can leave uneven surfaces and visible seams. Take your time, use a bright light to spot imperfections, and don’t be afraid to apply another coat of mud if necessary.
And there you have it—tips and best practices to help you excel in commercial drywall installation. Remember, practice makes perfect. So, don’t be disheartened if your first few attempts are less than perfect. Keep at it, learn from your mistakes, and you’ll soon be a pro at commercial drywall installation.